
Installing MDT

With the following guide I'll show you how I configure the MDT servers I've deployed in the past.
Installation
To install the Microsoft Deployment Toolkit we need an Updated Windows Server environment
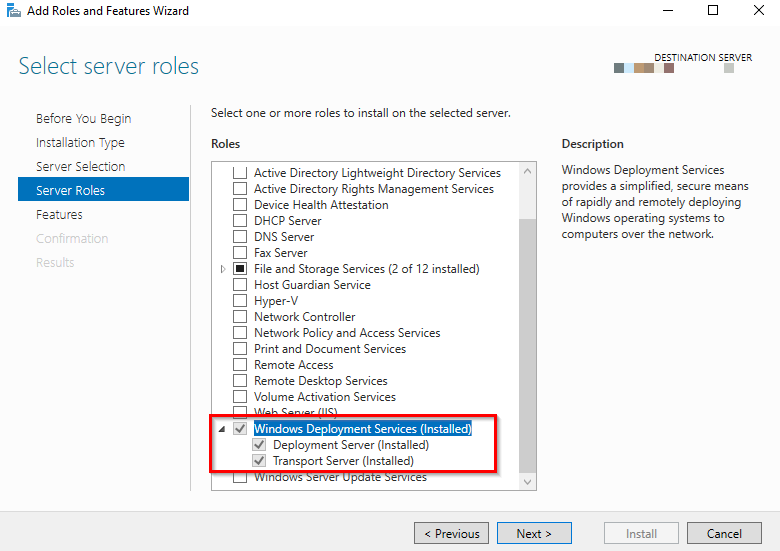
The role that we have to install is WDS.
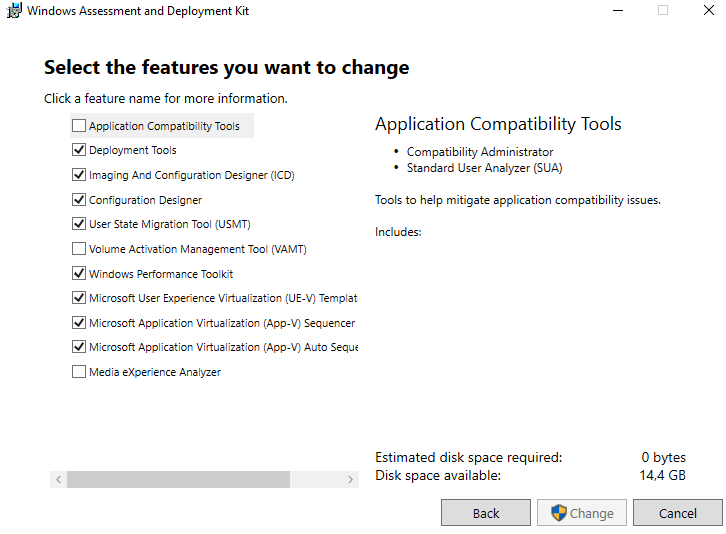
To get MDT up and running we also have to download and install the following package, MDT Package and ADK Package.

When installing the ADK Package leave everything as default.
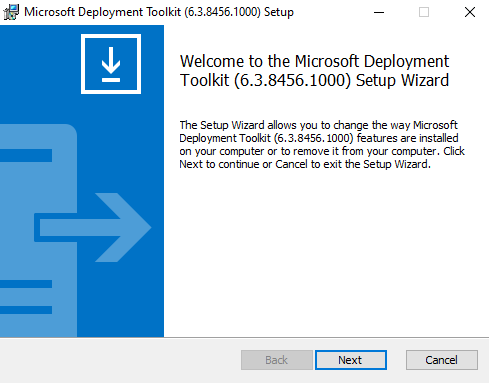
The MDT installation is also straightforward and doesn't need something to edit.
MDT Toolkit
Here are some how to instructions
Task Sequence Deployment
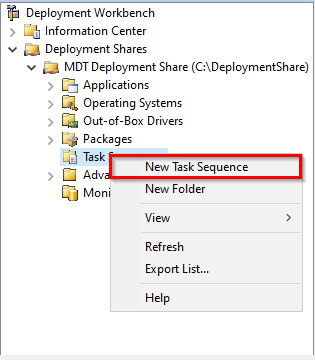
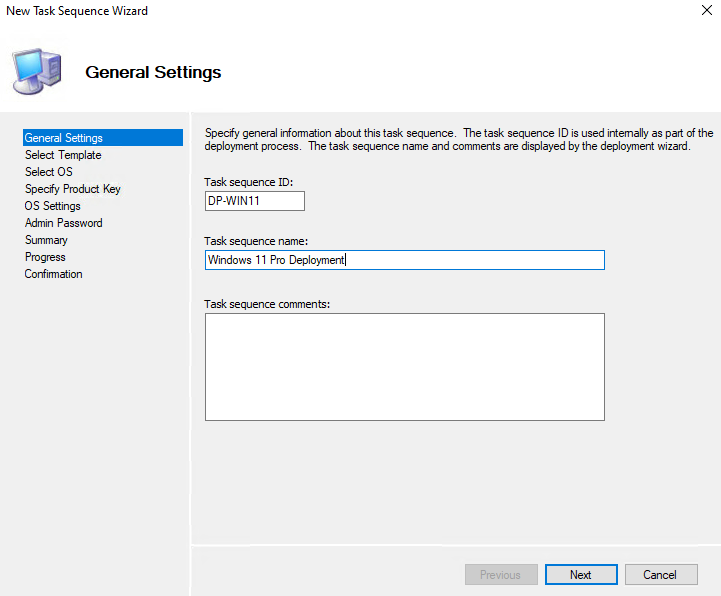
To create a Windows Deployment simply click on New Task Sequence
Fill in the ID and give it a name
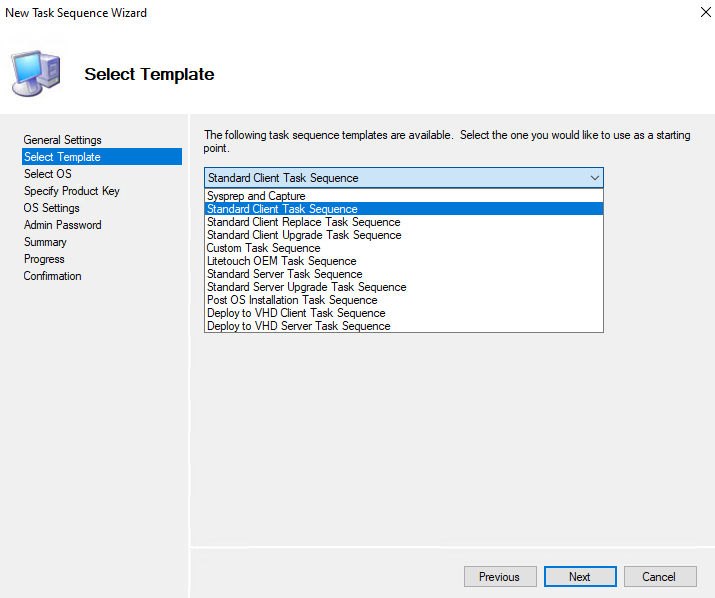
Choose Standard Client Task Sequence
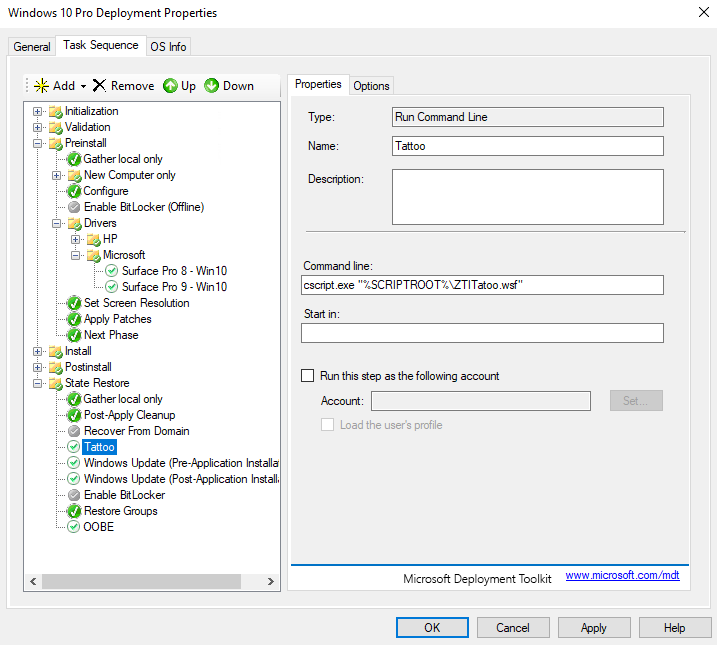
And you'll get something like this
Bootstrap
To let the LiteTouchPE even start into the DeploymentShare we must give MDT some information to log into the DeploymentShare.
Go to the Properties of the DeploymentShare en click on the Rules Tab.
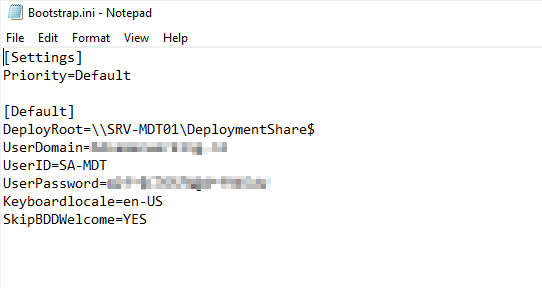
There you'll see the option Edit Bootstrap.ini

You can then edit the file and add some login information.
When done save the file and regenerate the Boot image when there is no change that has to be done.
Driver Selection
This will add Network and Storage Drivers to the Boot image for the specific computer that has been added with the Drivers.
To let MDT choose drives for the right system you can follow the following instructions.
First we have to download the drivers from the manufacturer of the device
You can simply add those into MDT, it will copy the necessary files to the DeploymentShare.
To make your job a little easier with MDT create some folders
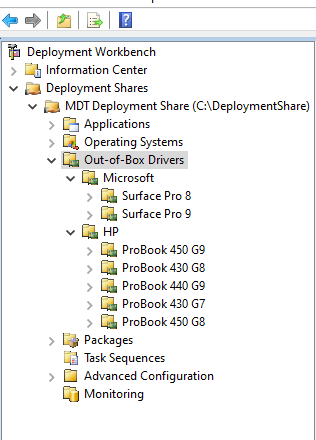
And import the Drivers into the right folders
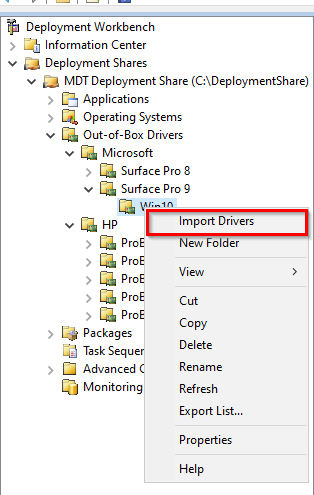
If everything is correct it will look like this

You can do that at any time.
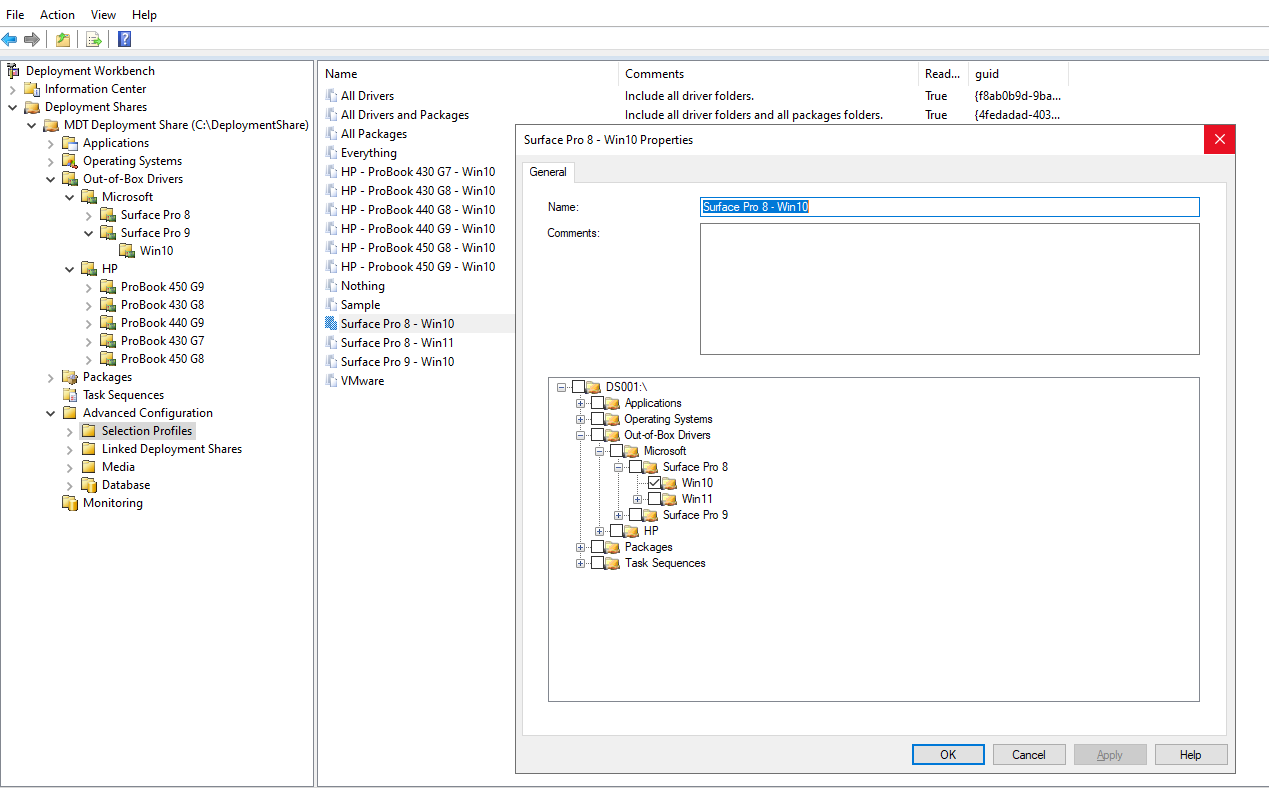
Create some Profiles under Advanced Configuration.
And only select the folders that you are referring to with the Profile.
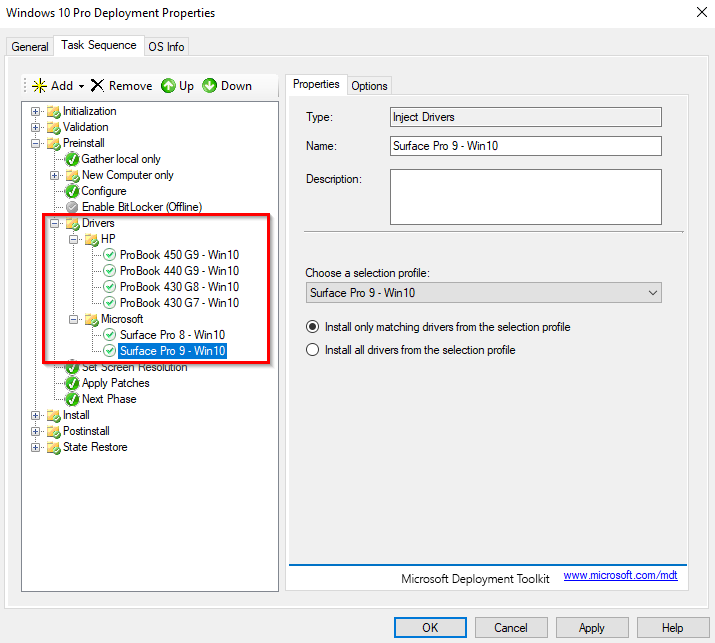
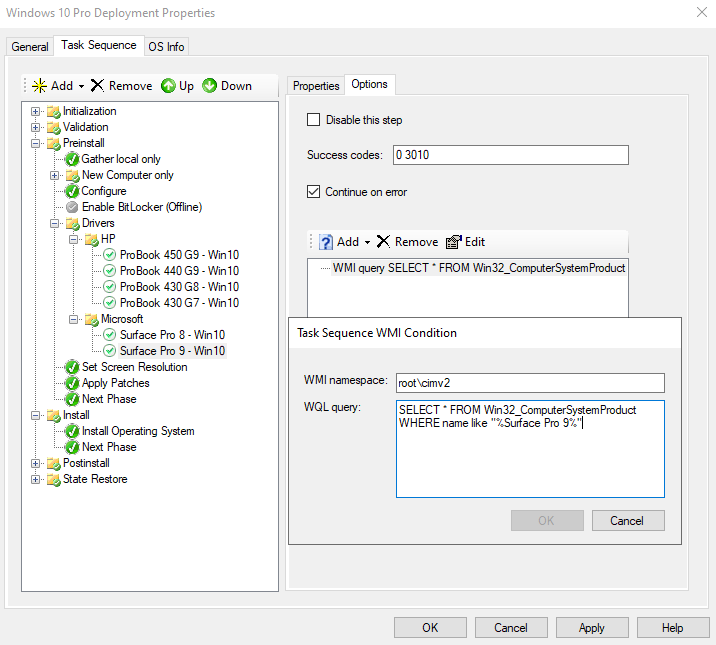
With the Profiles created we can now create the Drive Injections
Simply Add them into the Drivers folder under Preinstall
MDT will then Deploy them to the Windows image that will be Deployed
The WMI Query that is used is the following
SELECT * FROM Win32_ComputerSystemProduct WHERE name like "%Surface Pro 9%"And should look like this within MDT
To find the name of the machine, you need to have a Test Computer to run the following command
Get-Wmiobject Win32_ComputerSystemProduct | Out-GridviewThis will give you information of your device, like the Name, Vendor or other information
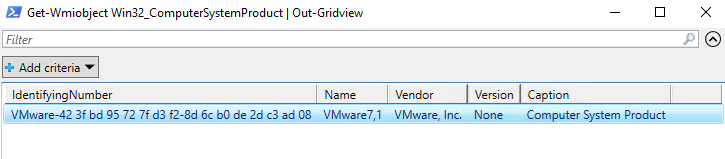
So within the Query; we are now using the tab WHERE name like %%
We can also use the Vendor or other tabs from that PowerShell output.
WDS Server
Boot image
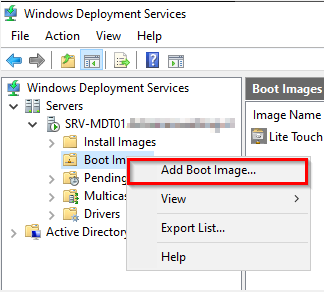
You can simply add a Boot image to the WDS Server to PXE Boot into MDT
Start the Windows Deployment Services Tool and open the Tree till you see Boot Images
Click on Add Boot Image
Browse to where the Boot image is located like C:\DeploymentShare\Boot
There you'll find the LiteTouchPE_x64.wim file
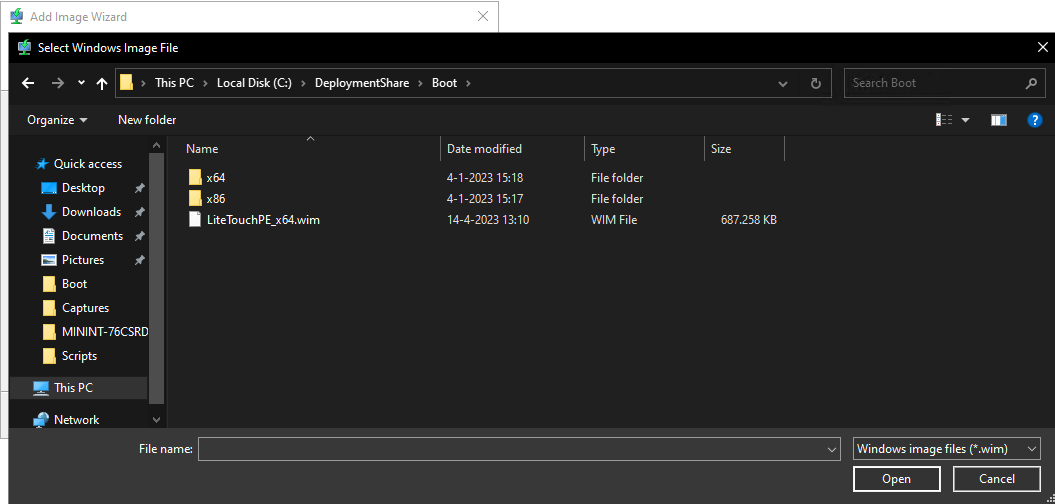
Simply open the file and this will import the Boot image to WDS for a PXE Boot
Keep in mind that you then first have to delete the old Lite Touch image from WDS before adding the new one.

Member discussion